QUICK OVERVIEW
VMMSYNC is a crontask provided within Maximo products. As with all crontasks it can be set to run at regular intervals. The crontask makes contact with a component of WebSphere called VMM (Virtual Member Manager) via API calls. The calls will be actioned against a federated repository and will request information on users, groups and group assignments from within the federated repository. The information must previously have been populated into the Federated Repository from LDAP(s). VMMSYNC can only be used with WebSphere as it talks directly to VMM which is a security component of WebSphere.WebLogic users will need to use LDAPSYNC which gets its information directly from a single LDAP.
VMMSYNC is a ‘ONE WAY’ synchronisation
i.e. If you delete a user in Maximo, the LDAP will not be updated to remove the user.
LDAP = Lightweight Directory Access protocol
Using an LDAP product allows users to authenticate against a central security product rather than authenticating internally within an application (e.g. Maximo)
Maximo supports 2 LDAP products – Others may work but are not officially supported.
Microsoft Active Directory (MSAD)
Tivoli Directory Server (TDS)
When Maximo makes use of LDAP, only authentication (userid/password check) happens against the LDAP. Users authorisations to individual Maximo applications / actions etc after they have authenticated (logged in) are based on information in the group related tables within Maximo.
When using LDAP for authentication, the user related tables still need to be popu
So, the first thing to realise is.......If a user cannot be seen within WebSpheres Federated Repository then VMMSYNC will not be able to populate their information to Maximo. Check you can see the user in WebSphere before wasting time troubleshooting VMMSYNC. If you cannot see them, then your problem is not with VMMSYNC, but with populating the federated repository.
The Crontask
VMMYNC is a Maximo CRONTASK.
You can have multiple ‘instances’ of the crontask.
The following are the main parameters to set up for the crontask instance.
1.1. Principal - The user used to access VMM/WebSphere e.g. cn=w
2.2. Credential – Password for principal
3.3. Usermapping – Update basedn in the xml to point to starting point in LDAP for user sync e.g. base
asedVMMSYNC is a crontask provided within Maximo products. As with all crontasks it can be set to run at regular intervals. The crontask makes contact with a component of WebSphere called VMM (Virtual Member Manager) via API calls. The calls will be actioned against a federated repository and will request information on users, groups and group assignments from within the federated repository. The information must previously have been populated into the Federated Repository from LDAP(s). VMMSYNC can only be used with WebSphere as it talks directly to VMM which is a security component of WebSphere.WebLogic users will need to use LDAPSYNC which gets its information directly from a single LDAP.
VMMSYNC is a ‘ONE WAY’ synchronisation
i.e. If you delete a user in Maximo, the LDAP will not be updated to remove the user.
LDAP = Lightweight Directory Access protocol
Using an LDAP product allows users to authenticate against a central security product rather than authenticating internally within an application (e.g. Maximo)
Maximo supports 2 LDAP products – Others may work but are not officially supported.
Microsoft Active Directory (MSAD)
Tivoli Directory Server (TDS)
When Maximo makes use of LDAP, only authentication (userid/password check) happens against the LDAP. Users authorisations to individual Maximo applications / actions etc after they have authenticated (logged in) are based on information in the group related tables within Maximo.
When using LDAP for authentication, the user related tables still need to be popu
So, the first thing to realise is.......If a user cannot be seen within WebSpheres Federated Repository then VMMSYNC will not be able to populate their information to Maximo. Check you can see the user in WebSphere before wasting time troubleshooting VMMSYNC. If you cannot see them, then your problem is not with VMMSYNC, but with populating the federated repository.
The Crontask
VMMYNC is a Maximo CRONTASK.
You can have multiple ‘instances’ of the crontask.
The following are the main parameters to set up for the crontask instance.
1.1. Principal - The user used to access VMM/WebSphere e.g. cn=w
2.2. Credential – Password for principal
3.3. Usermapping – Update basedn in the xml to point to starting point in LDAP for user sync e.g. base
4. GroupMapping – Update the basedn to point to the starting point in the LDAP to search for groups.
5. Check the Grou
Ensure the crontask instance is enabled and has a realistic schedule set…… vmmsync can take a long time to run when many users and groups are being sync’d.
A good idea might be to run it on a once a day basis, scheduled outside of normal working hours if possible.
VMMSYNC Crontask Instance XML
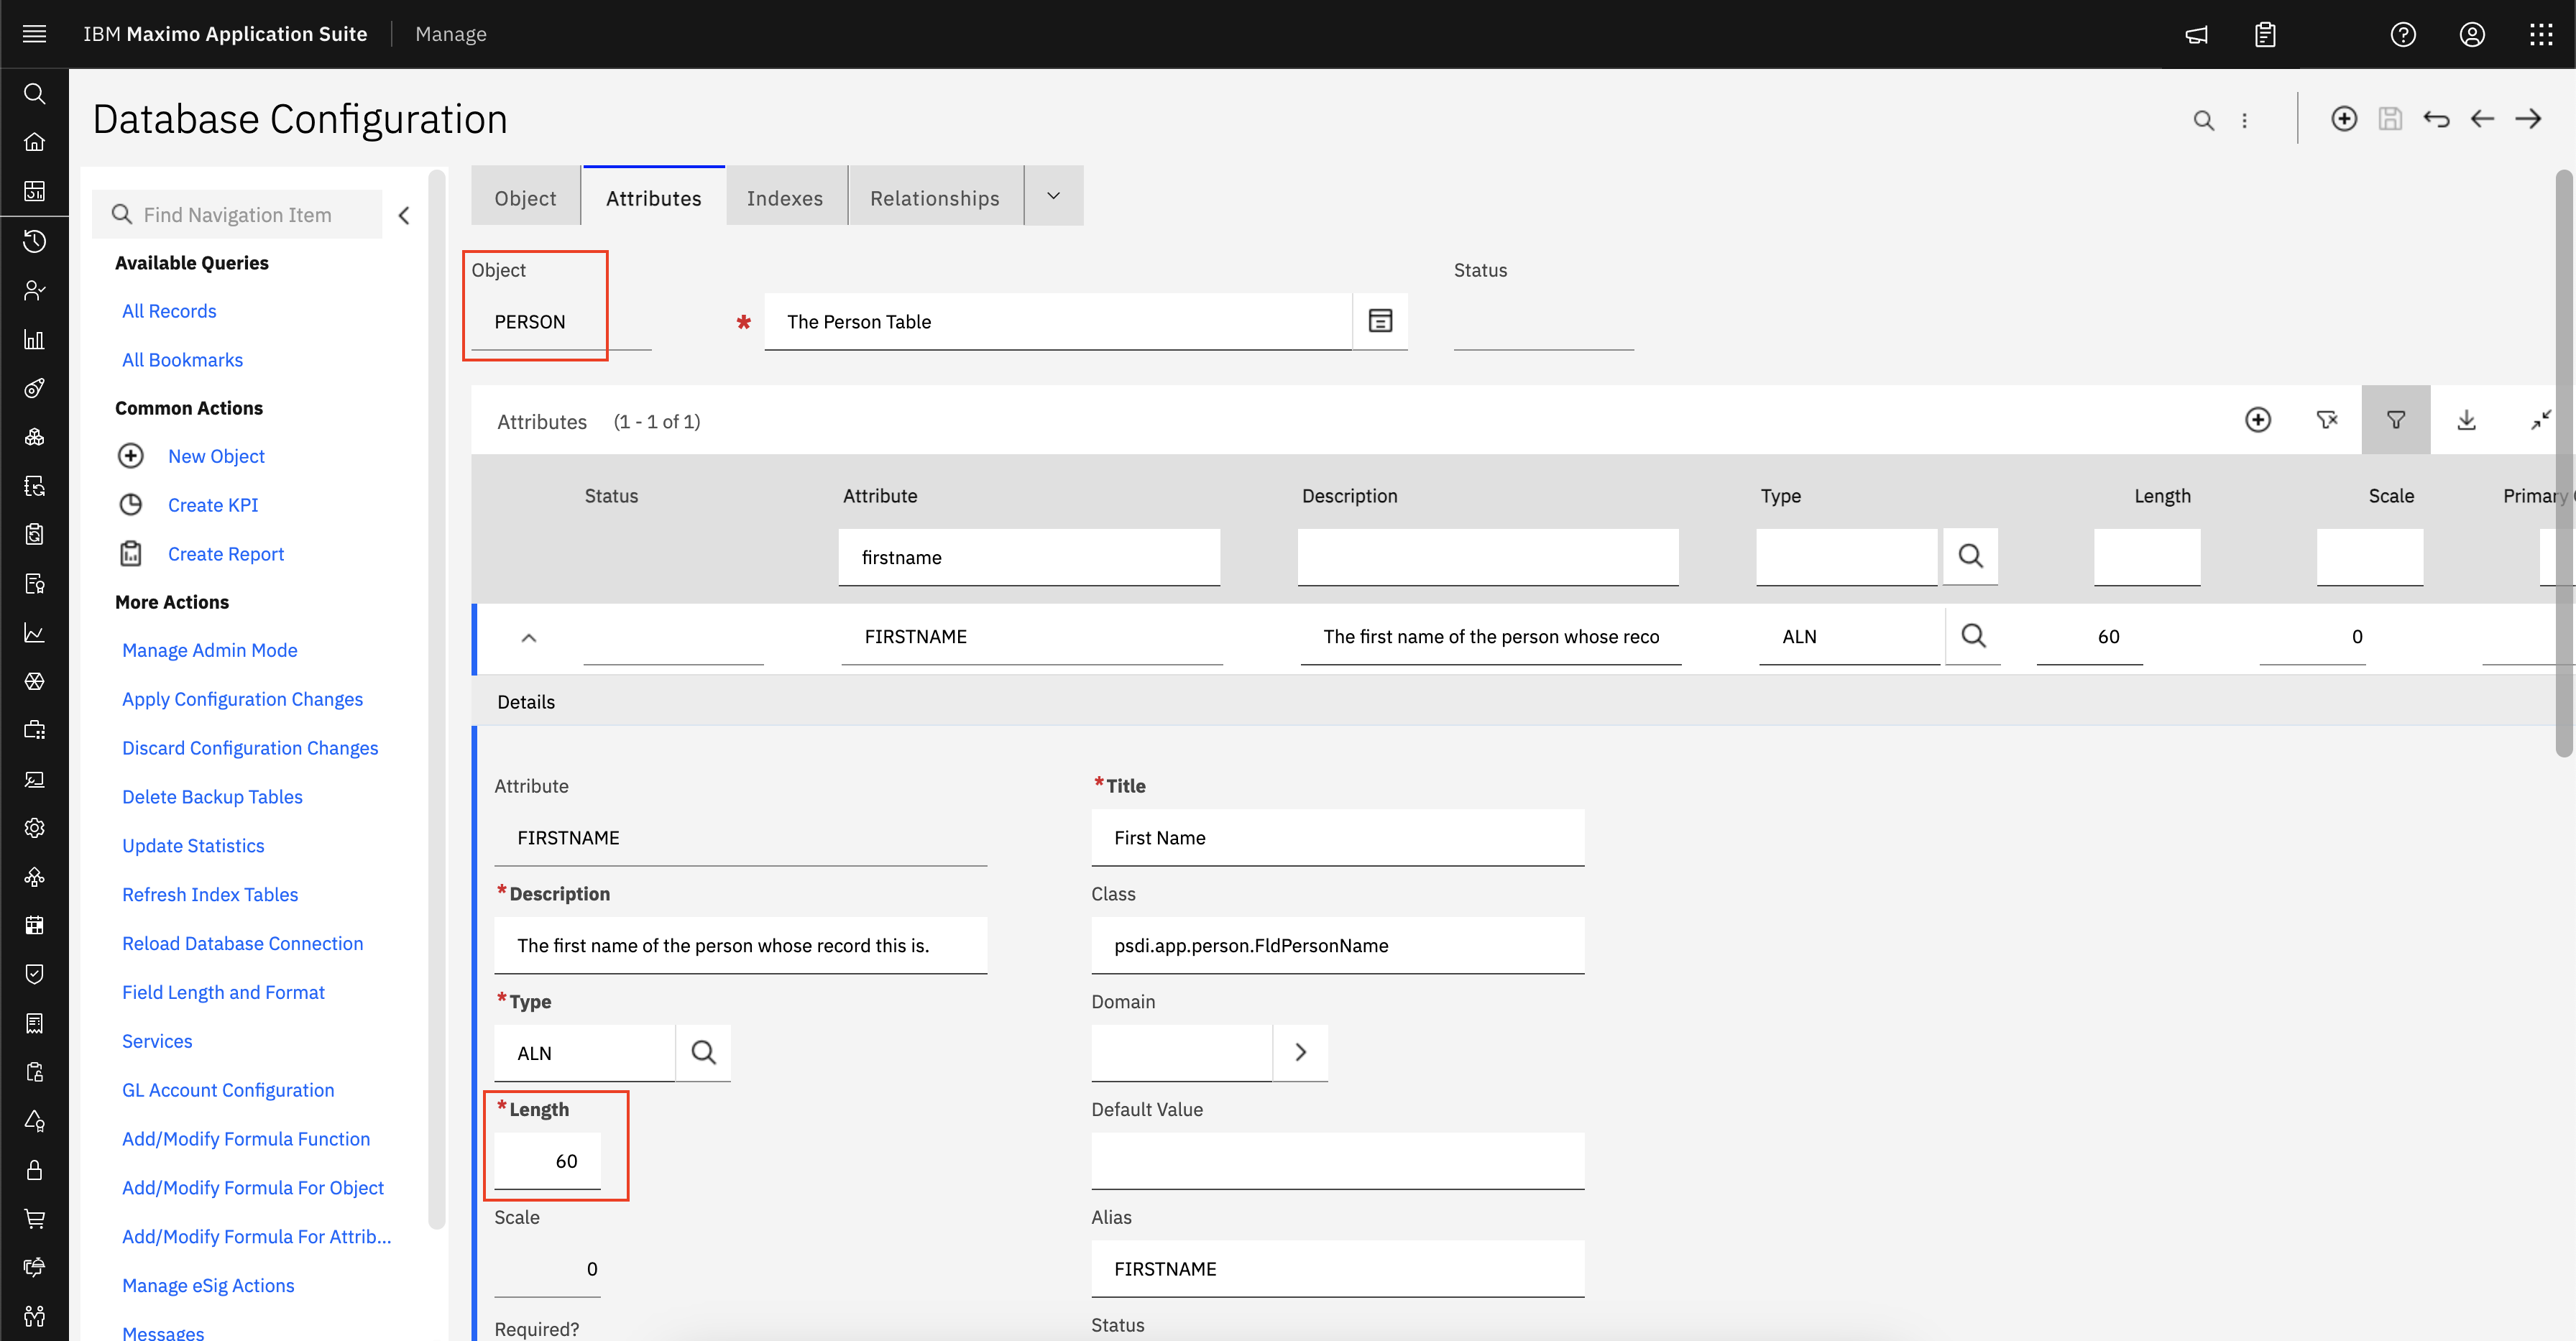
The User XML populates the following tables
MAXUSER
PERSON
PHONE
The Group XML populates the following tables
MAXGROUP
GROUPUSER
Extracts showing main USER xml from a VMMSYNC instance.

 BASIC
DEBUGGING
BASIC
DEBUGGING Set the VMMSYNC Cron Task into debug mode in Maximo
1.
Go to the Logging application (under System Conf
2.
Find and select the crontask root logger (not crontaskmgr) in the
upper Root Loggers pane.
3.
Find and select the VMMSYNC logger in the lower
Loggers pane.
1.
If one does not already exist, add it:
1.
Click the New Row button in Loggers pane while the crontask Root
Logger is selected.
2.
In the resulting pane click the Detail Menu icon for
the
3.
Select VMMSYNC from the Select Value dialog.
4.
Click the Select Value button on the Log Level parameter.
5.
Select DEBUG from the Select Value dialog.
6.
Save the record.
7.
Select Apply Settings from the Select Action menu.
Then
temporarily disable any other VMMSYNC instances (for clarity in the logs) and
allow the vmmsync instance of interest to run.Save the logs e.g. SystemOut.log and SystemErr.log
Review the debug logs.
First find this message which is the start of the sync
BMXAA6790I - VMM Synchronizer is going to perform Full Synchronization
Check the basedn matches the vmmsync instance xml e.g.
Synchronizing VMM users from base: {OU=
Next is the request made to VMM…this should match the xml regarding properties to get from VMM
[DEBUG] Synchronizing VMM Users: VMM search request
xmln
m:se
Next is the response back from VMM with the user records (each user is listed as an entity)
[DEBUG] Synchronizing VMM Users: VMM search results
xmln
repo
At the end of the user list you may get a cookie. This means it is not the last page to be returned…..look for the next set of results that show this same cookie to continue working through the users
You will see also how many users were synchronised e.g.
[INFO] BMXAA6794I - 134 User changes were processed
The Group xml is set out in a very similar fashion to the user xml. i.e. basedn, attributes to get from VMM, Tables to update etc.
Log entries are also very similar e.g.
[DEBUG] Synchronizing groups from base
Followed by the requests and the response for groups and groupmembers
VMM Groups: VMM search request
VMM Group members get request (One for each group found).
TIPS
The biggest tip for debugging is try to disable all other VMMSYNC crontasks, if you have more than one, when creating debug logs. It can get very confusing (for me at least) when many are running at the same time. They also tend to fill the logs quickly, so pertinent information can be lost if the logs size settings are for small files.
Scan the logs for any errors reported by Maximo or WebSphere during the process. including request timeouts. VMMSYNC can take some time to run (especially if thousands of users) and it is not uncommon for it to receive a transaction timeout from WebSphere if the transaction timeout is set too low.
Double check that any customised XML matches the LDAP data and also that any new fields created in Maximo tables are long enough for the data being placed in them and that the data type is correct for the field.Check the 'scope' set in the xml as this determines if just that one level in the LDAP is sync'd or if all sublevels are also sync'd.
Do not run it too frequently. I have seen cases where the sync is nowhere near finished and is then started again.
SQL logging can be turned on for VMMSYNC to show the table updates. This can be useful if everything looks to be correct, users are returned by VMM but do not make it into the Maximo tables.