Search This Blog

Wednesday, February 7, 2024

Installing and configuring Grafana _ Monitoring


Procedure

  1. In the Red Hat OpenShift Container Platform console, select Operators > OperatorHub and search for the Grafana operator that is provided by Red Hat OpenShift.
  2. Install the Grafana operator for the openshift-user-workload-monitoring namespace.
  3. Create an instance of Grafana.
    1. Select Operator > OperatorHub > Grafana Operator and then select the Grafana tab.
    2. Click Create Grafana.
    3. On YAML tab, enter the following text:
      apiVersion: integreatly.org/v1alpha1
      kind: Grafana
      metadata:
        name: mas-grafana
        namespace: openshift-user-workload-monitoring
      spec:
        ingress:
          enabled: true
        dataStorage:
          accessModes:
            - ReadWriteOnce
          size: 10Gi
          class: ocs-storagecluster-cephfs
        config:
          log:
            mode: "console"
            level: "warn"
          security:
            admin_user: "root"
            admin_password: "secret"
          auth:
            disable_login_form: False
            disable_signout_menu: True
          auth.anonymous:
            enabled: True
        dashboardLabelSelector:
          - matchExpressions:
              - {key: app, operator: In, values: [grafana]}
      
      A route is created, and the public URL is included in that route definition in the openshift-user-workload-monitoring namespace project.
  4. Remember to update the subscription.yaml file and add the following configuration so that Grafana scans for the dashboard across the whole cluster:
    Config:
           env: 
           - name: "DASHBOARD_NAMESPACES_ALL" 
              value: "true"
    After an update, the subscription.yaml file looks like the following:
    apiVersion: operators.coreos.com/v1alpha1
            kind: Subscription
            metadata:
              name: grafana-operator
              namespace: "{{ grafana_namespace }}"
              labels:
                operators.coreos.com/grafana-operator.{{ grafana_namespace }}: ''
            spec:
              channel: v4
              installPlanApproval: Automatic
              name: grafana-operator
              source: community-operators
              sourceNamespace: openshift-marketplace
              config:
                env:
                  - name: "DASHBOARD_NAMESPACES_ALL"
                    value: "true"
  5. Run the following command to grant the user permission.
    oc adm policy add-cluster-role-to-user cluster-monitoring-view -z grafana-serviceaccount
  6. Run the following command to obtain the BEARER_TOKEN.
    - oc serviceaccounts get-token grafana-serviceaccount -n openshift-user-workload-monitoring
  7. Create the GrafanaDataSource, which points to the Prometheus instance that you installed earlier.
    1. Select the Grafana Operator > Installed operators > GrafanaDataSource tab.
    2. Enter the following text and replace the ${BEARER_TOKEN} value with the value that you obtained in a previous step.
      apiVersion: integreatly.org/v1alpha1
      kind: GrafanaDataSource
      metadata:
        name: prometheus-grafanadatasource
        namespace:  openshift-user-workload-monitoring
      spec:
        datasources:
          - access: proxy
            editable: true
            isDefault: true
            jsonData:
              httpHeaderName1: 'Authorization'
              timeInterval: 5s
              tlsSkipVerify: true
            name: Prometheus
            secureJsonData:
              httpHeaderValue1: 'Bearer ${BEARER_TOKEN}'
            type: prometheus
            url: 'https://thanos-querier.openshift-monitoring.svc.cluster.local:9091'
        name: prometheus-grafanadatasource.yaml


Wednesday, January 31, 2024

MAS Manage - Adding trusted certificates in the user interface

Add certificates through the user interface when you configure Maximo Manage Maximo Health for deployment. The format of the certificate must be PEM.

Procedure

  • Add certificates.
    1. Log in to IBM Maximo Application Suite as a system administrator.
    2. From Suite administration, select Workspaces from the side navigation menu and then select the workspace that you want to configure.
    3. On the Overview tab for the workspace, select the Manage tile.
    4. On the Manage panel, click Actions and select Update configuration.
    5. In the Imported certificates row on the Update Manage configuration window, click the Edit icon.
    6. In the Imported certifications section, click Add to add a certificate.

You might have to disable the System managed switch before you can add a certificate.

    1. Specify the certificate alias and copy and paste the contents of the certificate.

Each alias name must be unique within the workspace.

    1. Click Confirm to save your changes.
    2. Select one of the following options:
      • If you are configuring a new deployment, click Activate.
      • If you are updating a deployment, click Apply changes.
  • Add certificates.
    1. In IBM Maximo Application Suite click Administration and then click Catalog.
    2. Select the Manage tile.
    3. On the application details page, click Actions and select Update configuration.
    4. In the Imported certificates row on the Update Manage configuration window, click the Edit icon.
    5. In the Imported certifications section, click Add to add a certificate.

You might have to disable the System managed switch before you can add a certificate.

    1. Specify the certificate alias and copy and paste the contents of the certificate.

Each alias name must be unique within the workspace.

    1. Click Confirm to save your changes.
    2. Select one of the following options:
      • If you are configuring a new deployment, click Activate.
      • If you are updating a deployment, click Apply changes.

Reference Link : https://www.ibm.com/docs/en/mas-cd/maximo-manage/continuous-delivery?topic=administering-trusted-certificates

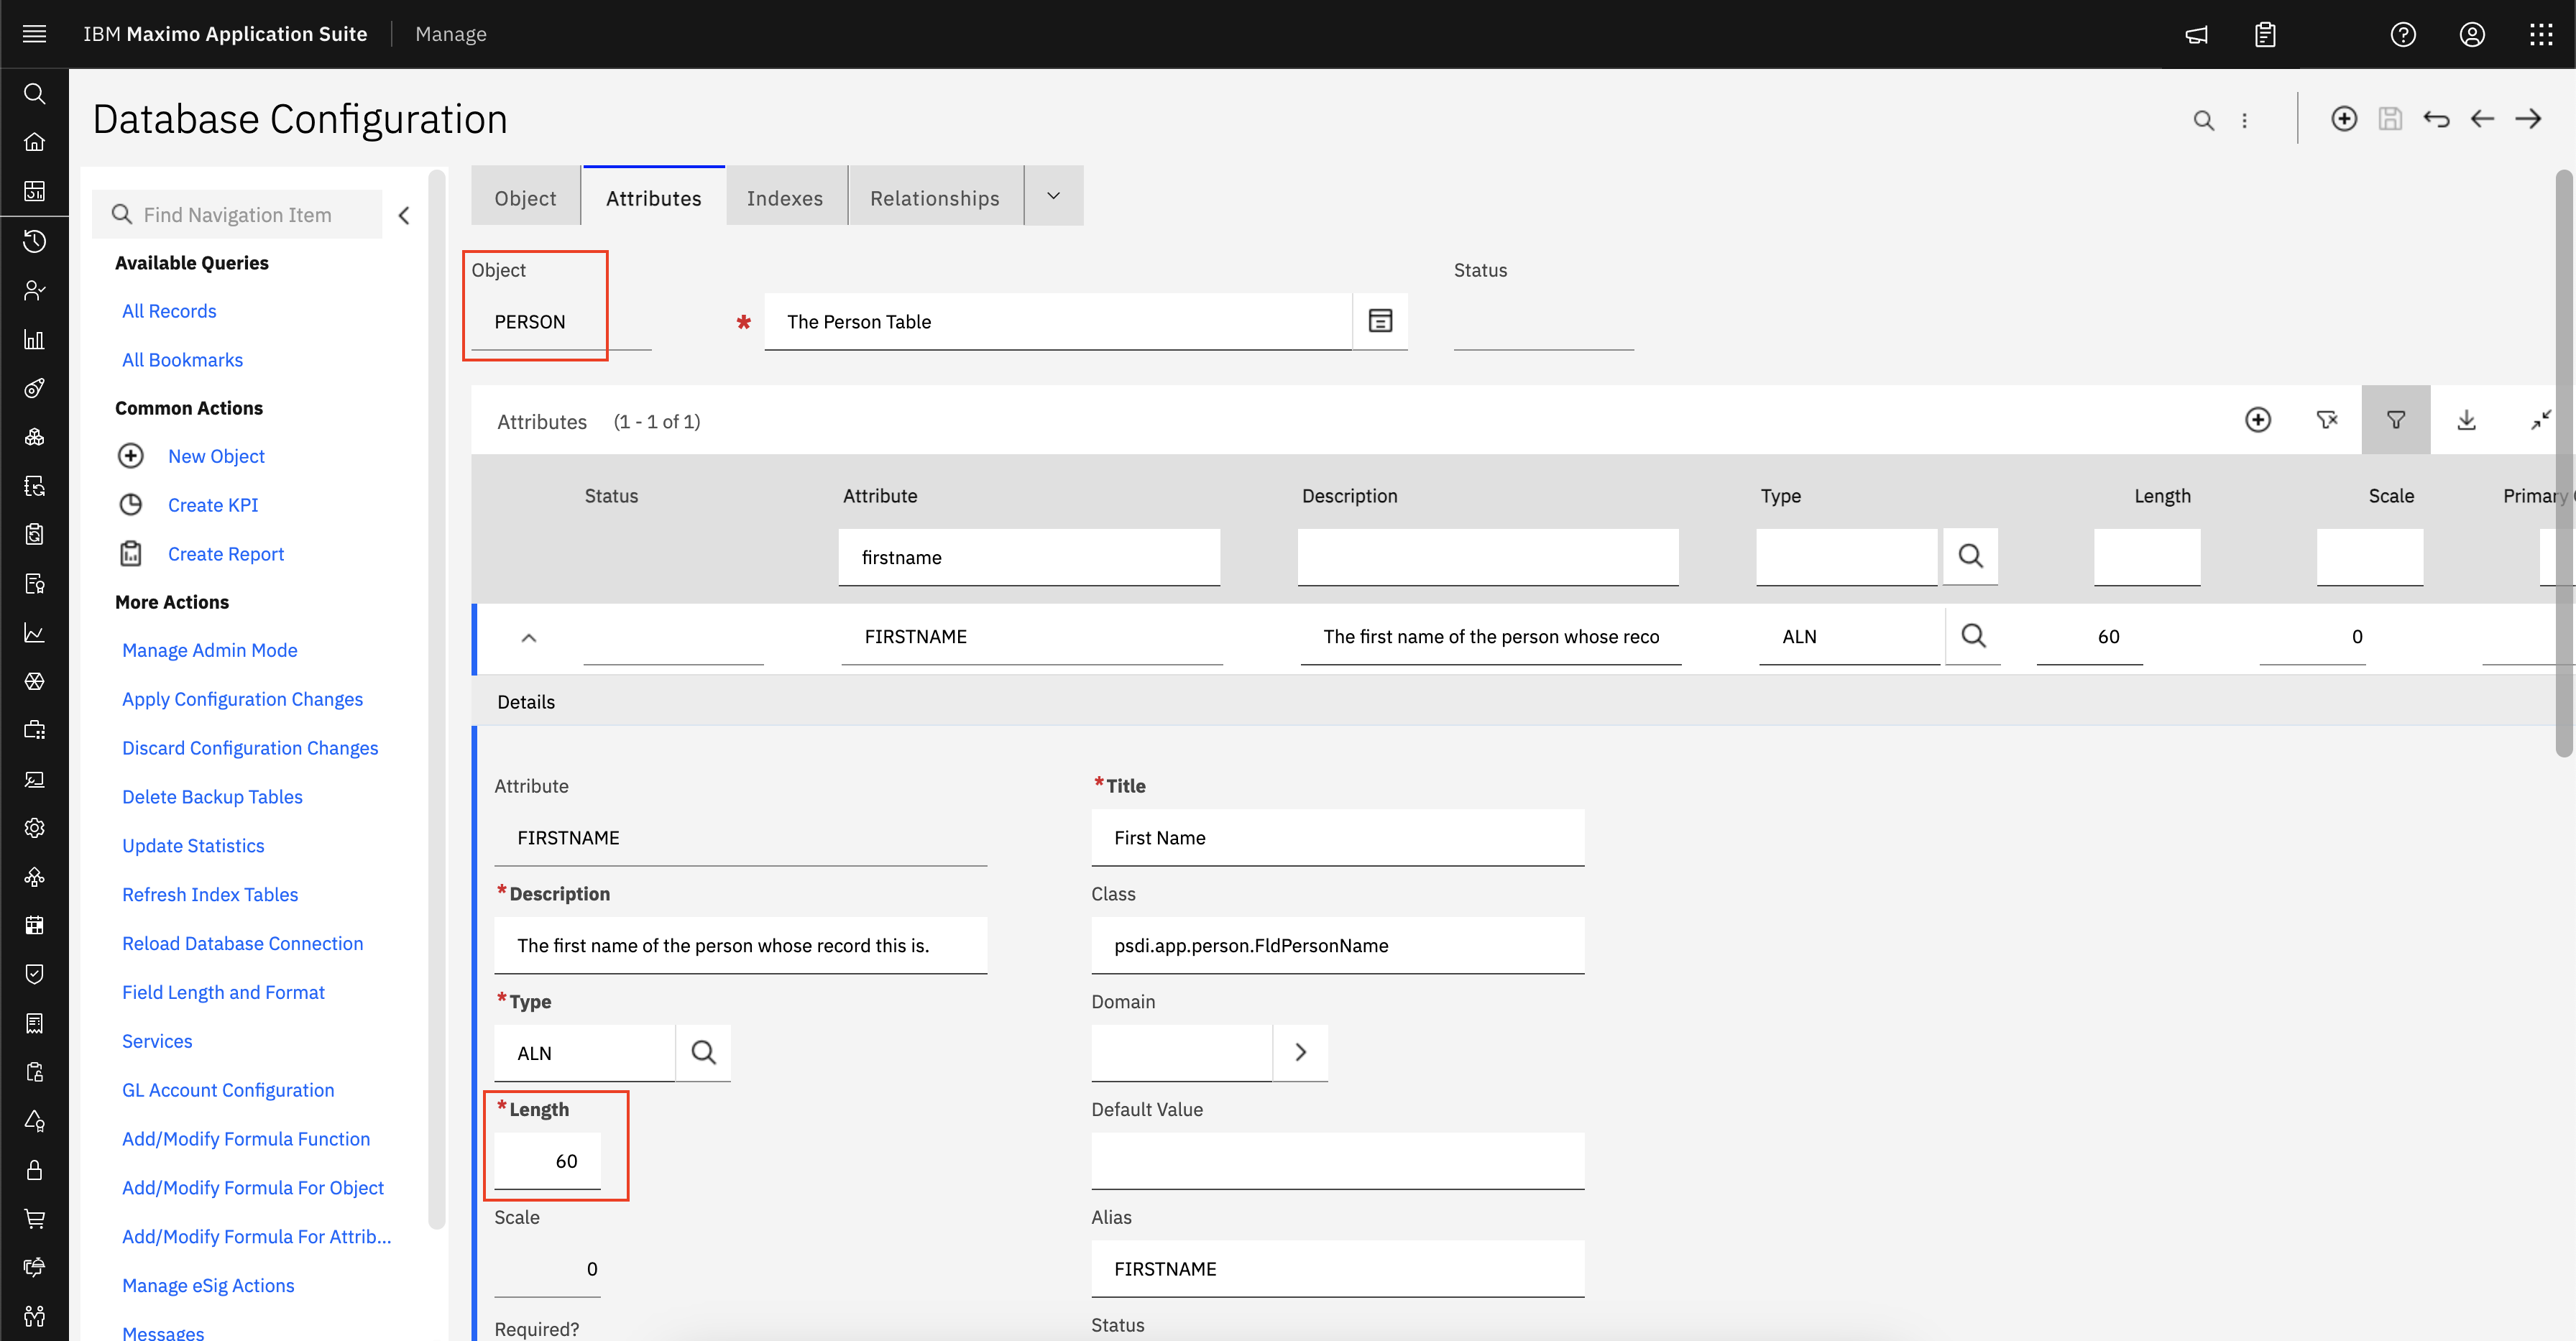
Modifying the size of a user field in MAS

  Question In MAS you can verify that many of the fields of the user records are also present in Manage application, but how can we change t...